

Happy New year to all the readers, my resolution is to blog more frequently so am starting as I mean to go on. Who knows what weather chaos (or not) the new year will bring but whatever happens I'm sure there will be more snow and snowy weather calls for snowy activities, of the non cold variety. (Don't worry the window is not on fire)

Transferring seed pods (not sure what kind) painted White between containers, a shallow spoon was available but at point of photo was being used for something else, for fundamentalist montesorians among you, I'm so sorry!

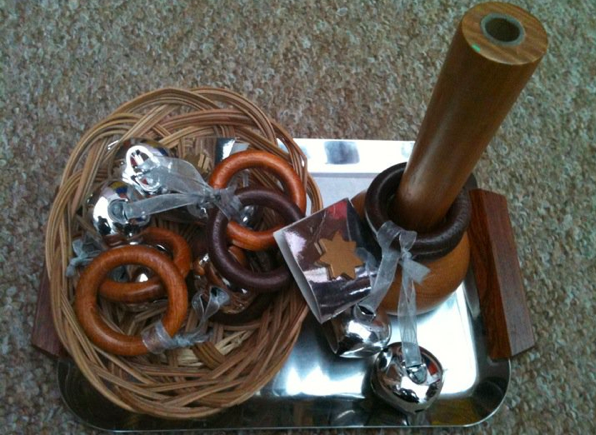
Transferring White pom poms with a peg into a container with small hole. This actually proved quite tricky for little fingers as it was not a quick transferring activity, instead requiring a pause to for pushing the pom pom into the hole with a finger on the other hand. A great activity to encourage children to use both hands and to reach to midline.


